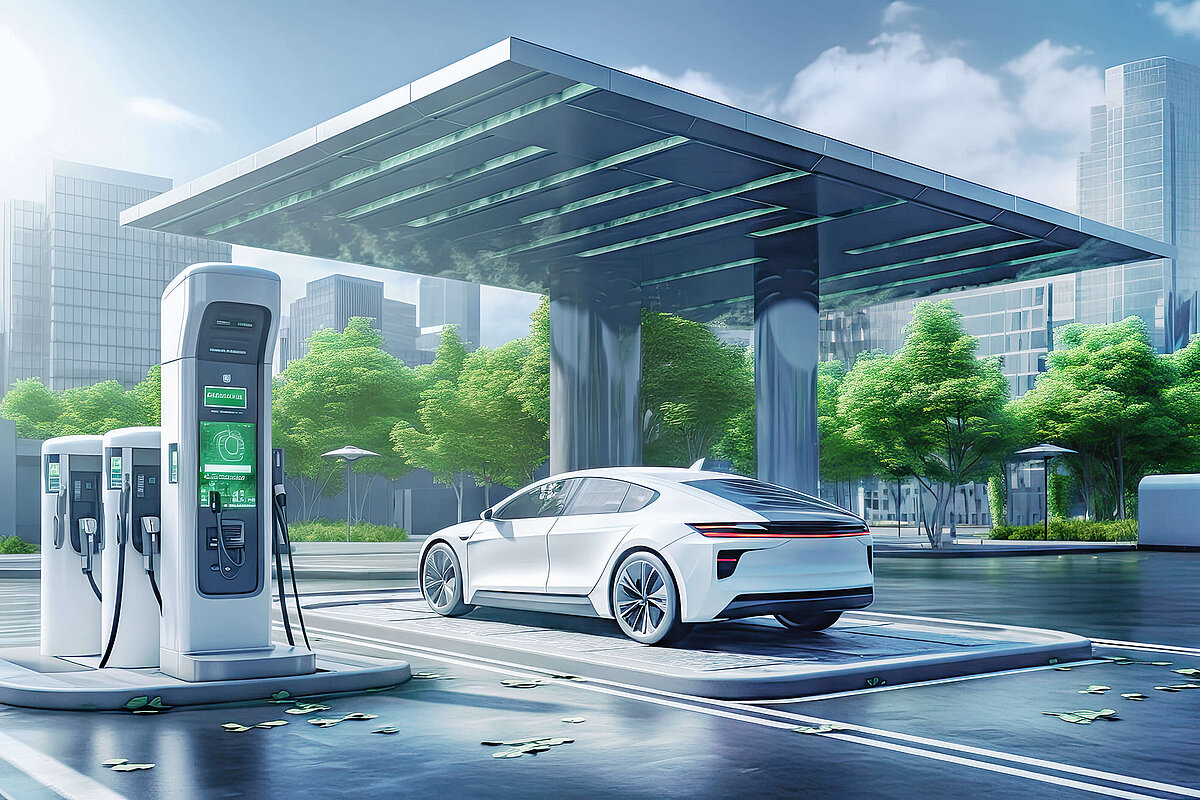
EUROPE EN

Mixing. Brushing. Coupling. Casting. Tamping. Or laminating.

11/29/19

This blog post shows you what the lay-up method is and the benefits it offers.

What is the lay-up method?

The lay-up method is a means of building up a structure by forming various layers. It is used in the following processing steps:

  • Gelcoats / coupling coat
  • Backing structure – solid casting
  • Backing structure – tamping mixture
  • Laminating with fabrics
  • Laminating with pastes

This blog post explains how to use RAKU® TOOL products. You can also watch our short but practical step-by-step user videos that show how they are used.

1. Gelcoats

Why use a gelcoat?

  • Various surface properties can be obtained by applying a thin layer (rigid to flexible, chemical resistance, polishability, etc.).
  • The surface quality of a gelcoat is far superior to that of a casting resin.
  • Using gelcoats can ensure a bubble-free surface even for complex geometries. 

How do I use a gelcoat and what do I need to look out for?

  • Mix the components thoroughly using the specified mixing ratio.
  • Apply the mixture in thin layers using a brush. Ensure you apply the gelcoat evenly, brushing first in one direction and then perpendicular to that direction – this is important for ensuring air can escape from the systems. 
  • Wait until the gelcoat has gelled. N.B.: The gelcoat must still be slightly tacky for the next stages in the process. It is advisable to apply two coats of the gelcoat before applying the coupling coat.
  • If recommended, post-curing improves the properties of the end product.

Coupling coat

The coupling coat is applied with a brush in a thin, uniform thickness. Here, too, ensure you apply the coupling coat evenly, brushing in two directions that cross at a right angle. 

Why is a coupling coat used?

A coupling coat ensures the gelcoat adheres firmly to the backing structure. Depending on the relevant circumstances, the backing structure can be made from casting resin, tamping mixture, fabric-based laminate, or laminating paste.

A pre-prepared coupling coat makes work easier. The RAKU® TOOL coupling coat also boasts excellent thermal dimensional stability, outstanding interlayer adhesion, and uniform consistency (e.g. thixotropic properties).

APPLYING A GELCOAT AND COUPLING COAT WHEN MANUFACTURING A COMPONENT USING THE LAY-UP METHOD.

2. Backing structure – solid casting

Why use solid casting as a backing structure?

  • Ideal for complex cavities where other types of backing structure are not feasible or economical.
  • Quick and easy to process.
  • Can be used for small and large castings with mass casting.

How does solid casting work and what needs to be taken into account during processing?

Before solid casting can start, the gelcoat and the coupling coat must first be applied.

Solid casting:

  • Mix the components well using the specified mixing ratio, ensuring as little air as possible gets into the mix.
  • Pour slowly in a thin and steady stream into the deepest point of the cavity.
  • If recommended, evacuation and/or post-curing improves the final properties.

MANUFACTURING A COMPONENT USING THE LAY-UP METHOD WITH SOLID CASTING AS A BACKING STRUCTURE.
FIRST A GELCOAT IS APPLIED, FOLLOWED BY THE COUPLING COAT AND FINALLY THE SOLID CASTING.

3. Backing structure – tamping mixture

Why use a tamping mixture as a backing structure? These are the benefits.

  • Tamping mixtures exhibit very low shrinkage, thus making the components produced extremely dimensionally stable.
  • Tamping mixtures boast excellent mechanical properties such as compressive strength. 
  • The high proportion of filler in a tamping mixture (as a result of using quartz sand, for example) reduces material costs. As a final step, a cover casting can be applied using a casting resin.

How is a tamping mixture applied and what needs to be taken into account during processing?

The gelcoat and coupling coat need to be applied before the tamping mixture.

Backing structure:

  • Once the coupling coat has started to gel, add the tamping mixture.
  • Carefully knead the tamping mixture and add it so that it fills the mold. In doing so, ensure the tamping mixture covers the entire area and is well compacted.
  • Where appropriate, apply the tamping mixture in several layers to prevent air pockets and ensure uniform density of the end product.
  • As a final step, depending on the workability of the filler (e.g. quartz sand), a casting resin can be used to cast a cover layer that can be processed more easily.
  • If recommended, post-curing improves the properties of the end product.

MANUFACTURING A COMPONENT USING THE LAY-UP METHOD WITH TAMPING MIXTURE AS A BACKING STRUCTURE.

4. Laminating with fabrics

When is this method used and what are the benefits?

  • Thin, lightweight, rigid, and high-strength molds and components with or without a gelcoat can be produced depending on the type of fabric.
  • It is used primarily for larger and lightweight components such as bodywork and large-scale mold engineering. 
  • Superior mechanical properties can be achieved compared to laminating pastes.

How does lamination with fabrics work and what needs to be taken into account during processing?

  • Let the previously applied, second layer of gelcoat start to gel before applying the coupling coat. Ensure you apply all coats evenly, brushing in two directions that cross at a right angle.
  • After the coupling coat has started to gel, the laminating resin can be applied. Mix the components beforehand according to the specified mixing ratio and ensure the laminating resin is applied evenly across the entire area. 
  • Fabric structure. Bond together the fabric cut-offs layer by layer and ensure the fabric is completely impregnated with the laminating resin. Prevent air pockets from forming between the layers.

Tip: In the case of molds with high temperature resistance in particular, you should ensure the fabric layers are absolutely symmetrical to minimize subsequent warping and achieve a perfect end product. It is advisable to use the same material as the laminate shells to make any elements designed to improve rigidity, as the coefficient of thermal expansion will be the same.

5. Laminating with pastes

Benefits of laminating with pastes:

  • Very fast manufacture of rigid and lightweight shell molds compared to the laminate method, as the necessary shell thickness is achieved in a single step.
  • Thanks to the paste-like consistency, even complex geometries can be replicated quickly.

How does lamination with pastes work and what needs to be taken into account during processing?

  • Let the previously applied, second layer of gelcoat start to gel before applying the coupling coat. Ensure that you apply all coats evenly, brushing in two directions that cross at a right angle.
  • After the coupling coat has started to gel, the laminating paste can be applied. To do this, thoroughly knead the mass by hand or machine. A uniform color is the sign of a well-kneaded compound.
  • Press the paste into place in sections, ensuring uniform thickness. Make sure the sections overlap slightly and prevent air pockets from forming between the coupling coat and the laminating paste.
  • Wear rubber gloves or use rubber rollers to press the compound into place by hand. Steel wool can be used for compression and smoothing in the case of complex geometries.

APPLYING A LAMINATING PASTE WHEN MANUFACTURING A COMPONENT USING THE LAY-UP METHOD.

Interesting articles

09/12/19

It’s All About Casting

Casting methods with RAKU® TOOL casting resins.